
11 August 2021
Plugins for Productivity (in Visual Studio Code)

Recently, the team at Louder has had productivity at the forefront of their minds. As a result of this, I’ve been delving deep into the infinite rabbit hole of Visual Studio Code extensions in an attempt to make myself a little bit more productive. There are a large amount of both corporately and independently developed extensions that help transform VS Code from a fancy text editor, to a full blown Integrated Development Environment (IDE), and even more.
Here are some of the extensions that I’ve found to be particularly useful.
Atlassian
We use Atlassian’s stack for almost all of our project management. This includes managing our tickets with Jira, using Tempo to log our time to those tickets, and utilising Bitbucket as our Git repository, which stores the code related to those tickets.
Normally, I would have at least one instance of each of these apps pinned in my browser for easy access but, when I’m an hour into working on some code, my desktop becomes quite messy and I struggle to find my timesheets.
Thankfully, Atlassian has provided a VS Code extension that contains each of these web apps. This means that I can do all of my task management, timesheets, and version controlling in one window.
Jira
When you install the Jira and Bitbucket extension, you will see a new tab appear labelled ‘Atlassian’. From there, there are a couple of drop-down boxes that contain a list of your active tickets, grouped by their Jira projects. Let’s open up a ticket that I’ve neglected for a while.
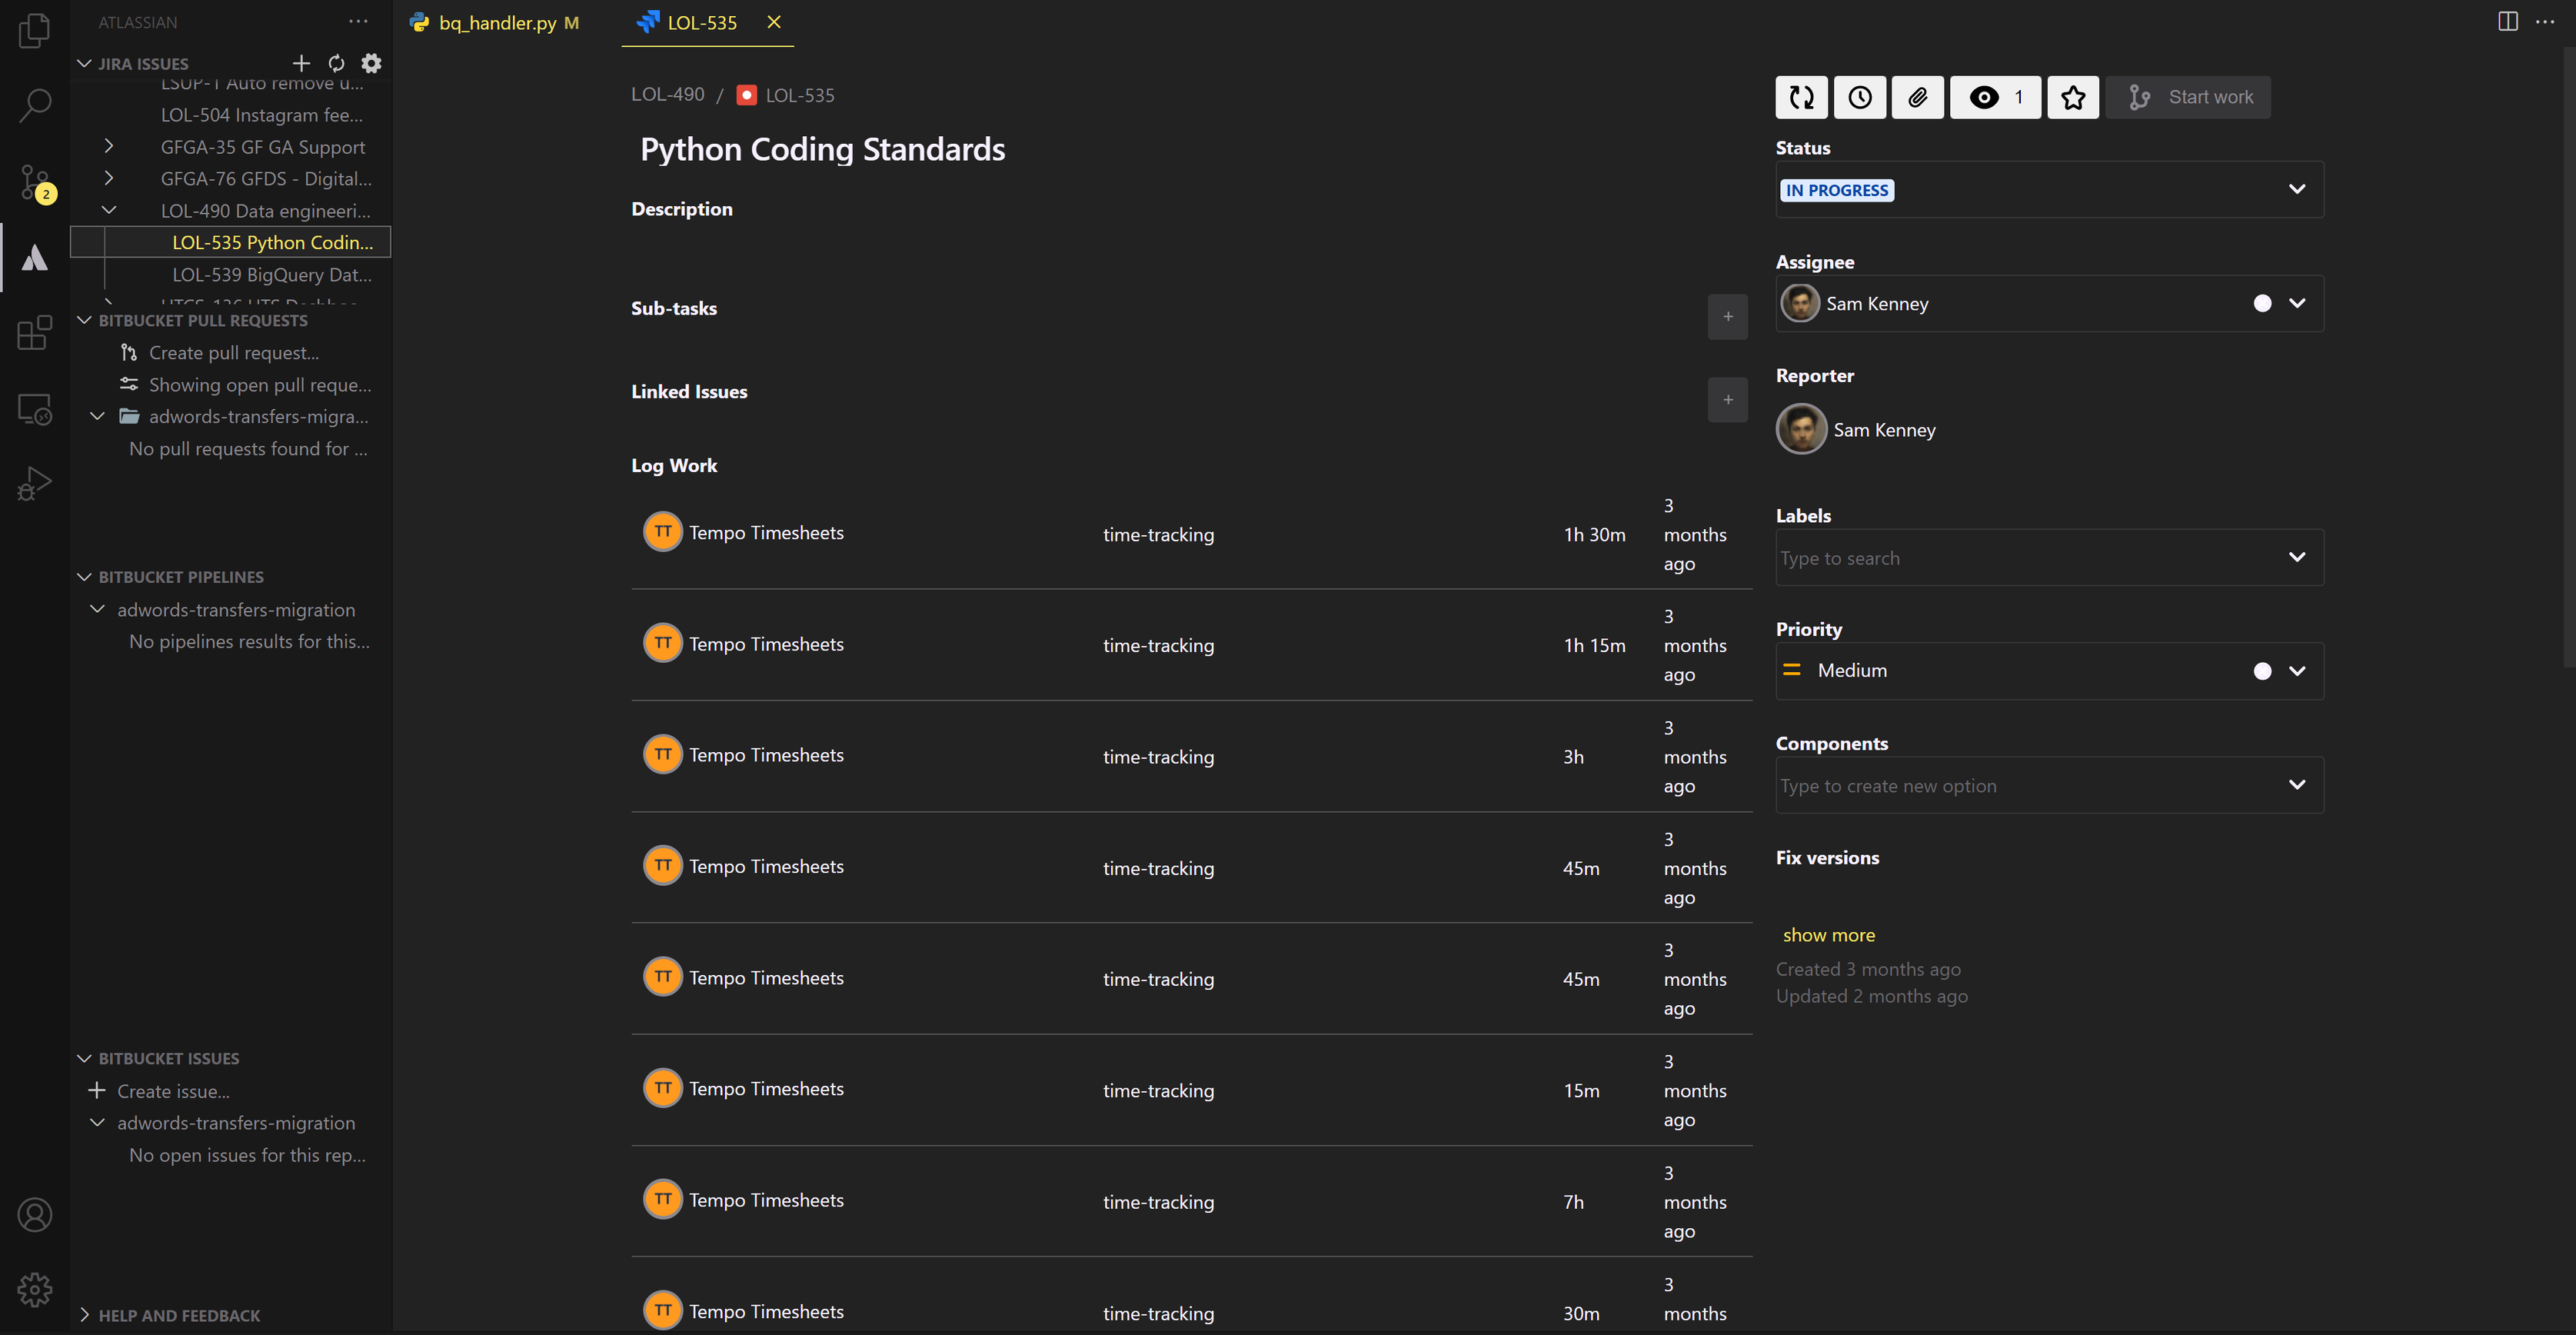
From this view, you can:
-
Update the title and description of the ticket
-
Change the assignee or reporter
-
Update the priority
-
Attach documents
-
Change the task status
One other feature of note, is the ability to log time.
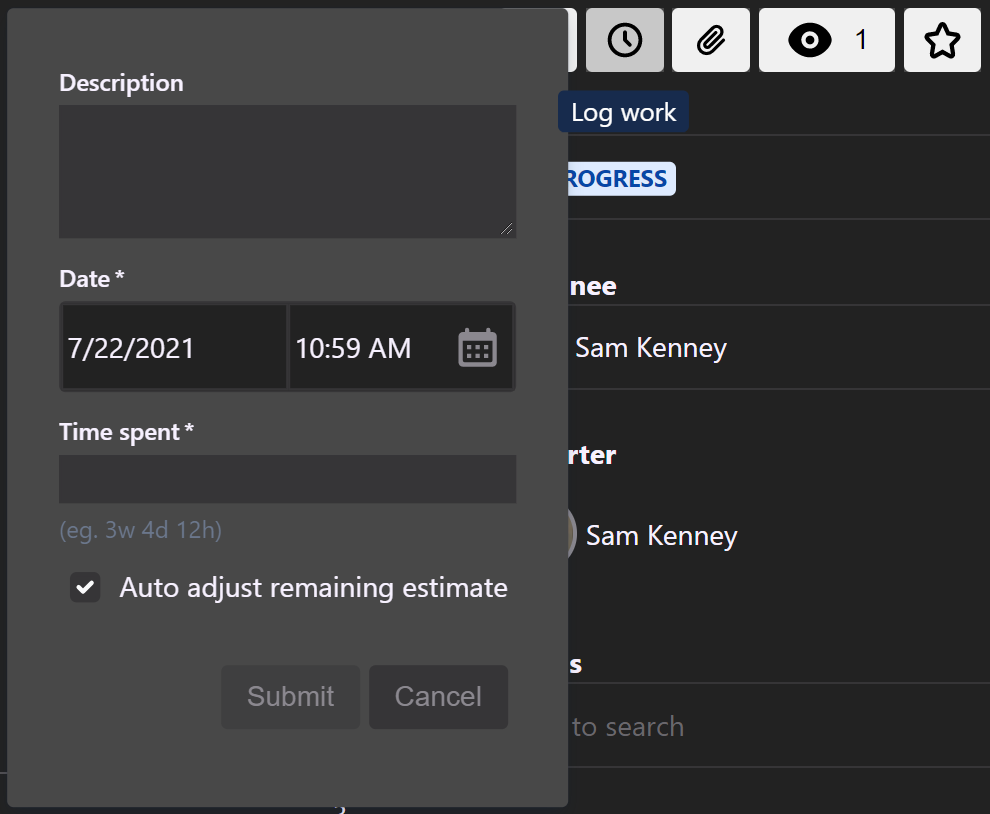
This resolves the issue I mentioned earlier, in that I can now easily log time against my tickets, while I work. Currently, though you can only log time in UTC, so for the time being, I will continue to use Tempo in my browser.
One more thing to note is that notifications appear when a new ticket is created or reassigned to you. This gives me a brief heads-up that there is something new for me to look at, without being too invasive.
Bitbucket
There are a few different ways you can interact with Bitbucket through VS Code that I’ll explain this article.
- Jira ticket view
In an open ticket, you will see these buttons on the top right of the screen.
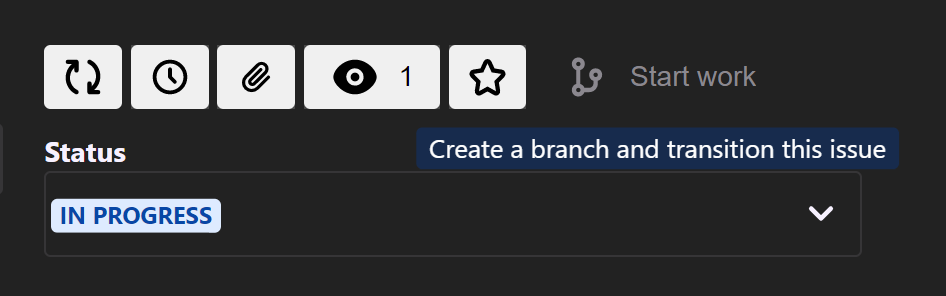
Clicking Start work will take you to a new tab. This will allow you to create a new branch on the repository that is attached to the currently open code base.

From here, you can decide whether to:
-
Change the status of the task
-
What Git repository to work on
-
Which branch to fork from
-
What type of branch to create and name for the branch
Conveniently, it places the Jira code in the branch name, so you are able to link each branch to a ticket.
2. Creating pull requests via the left hand dropdown boxes
When you click on Create pull request... it will take you to the following window.
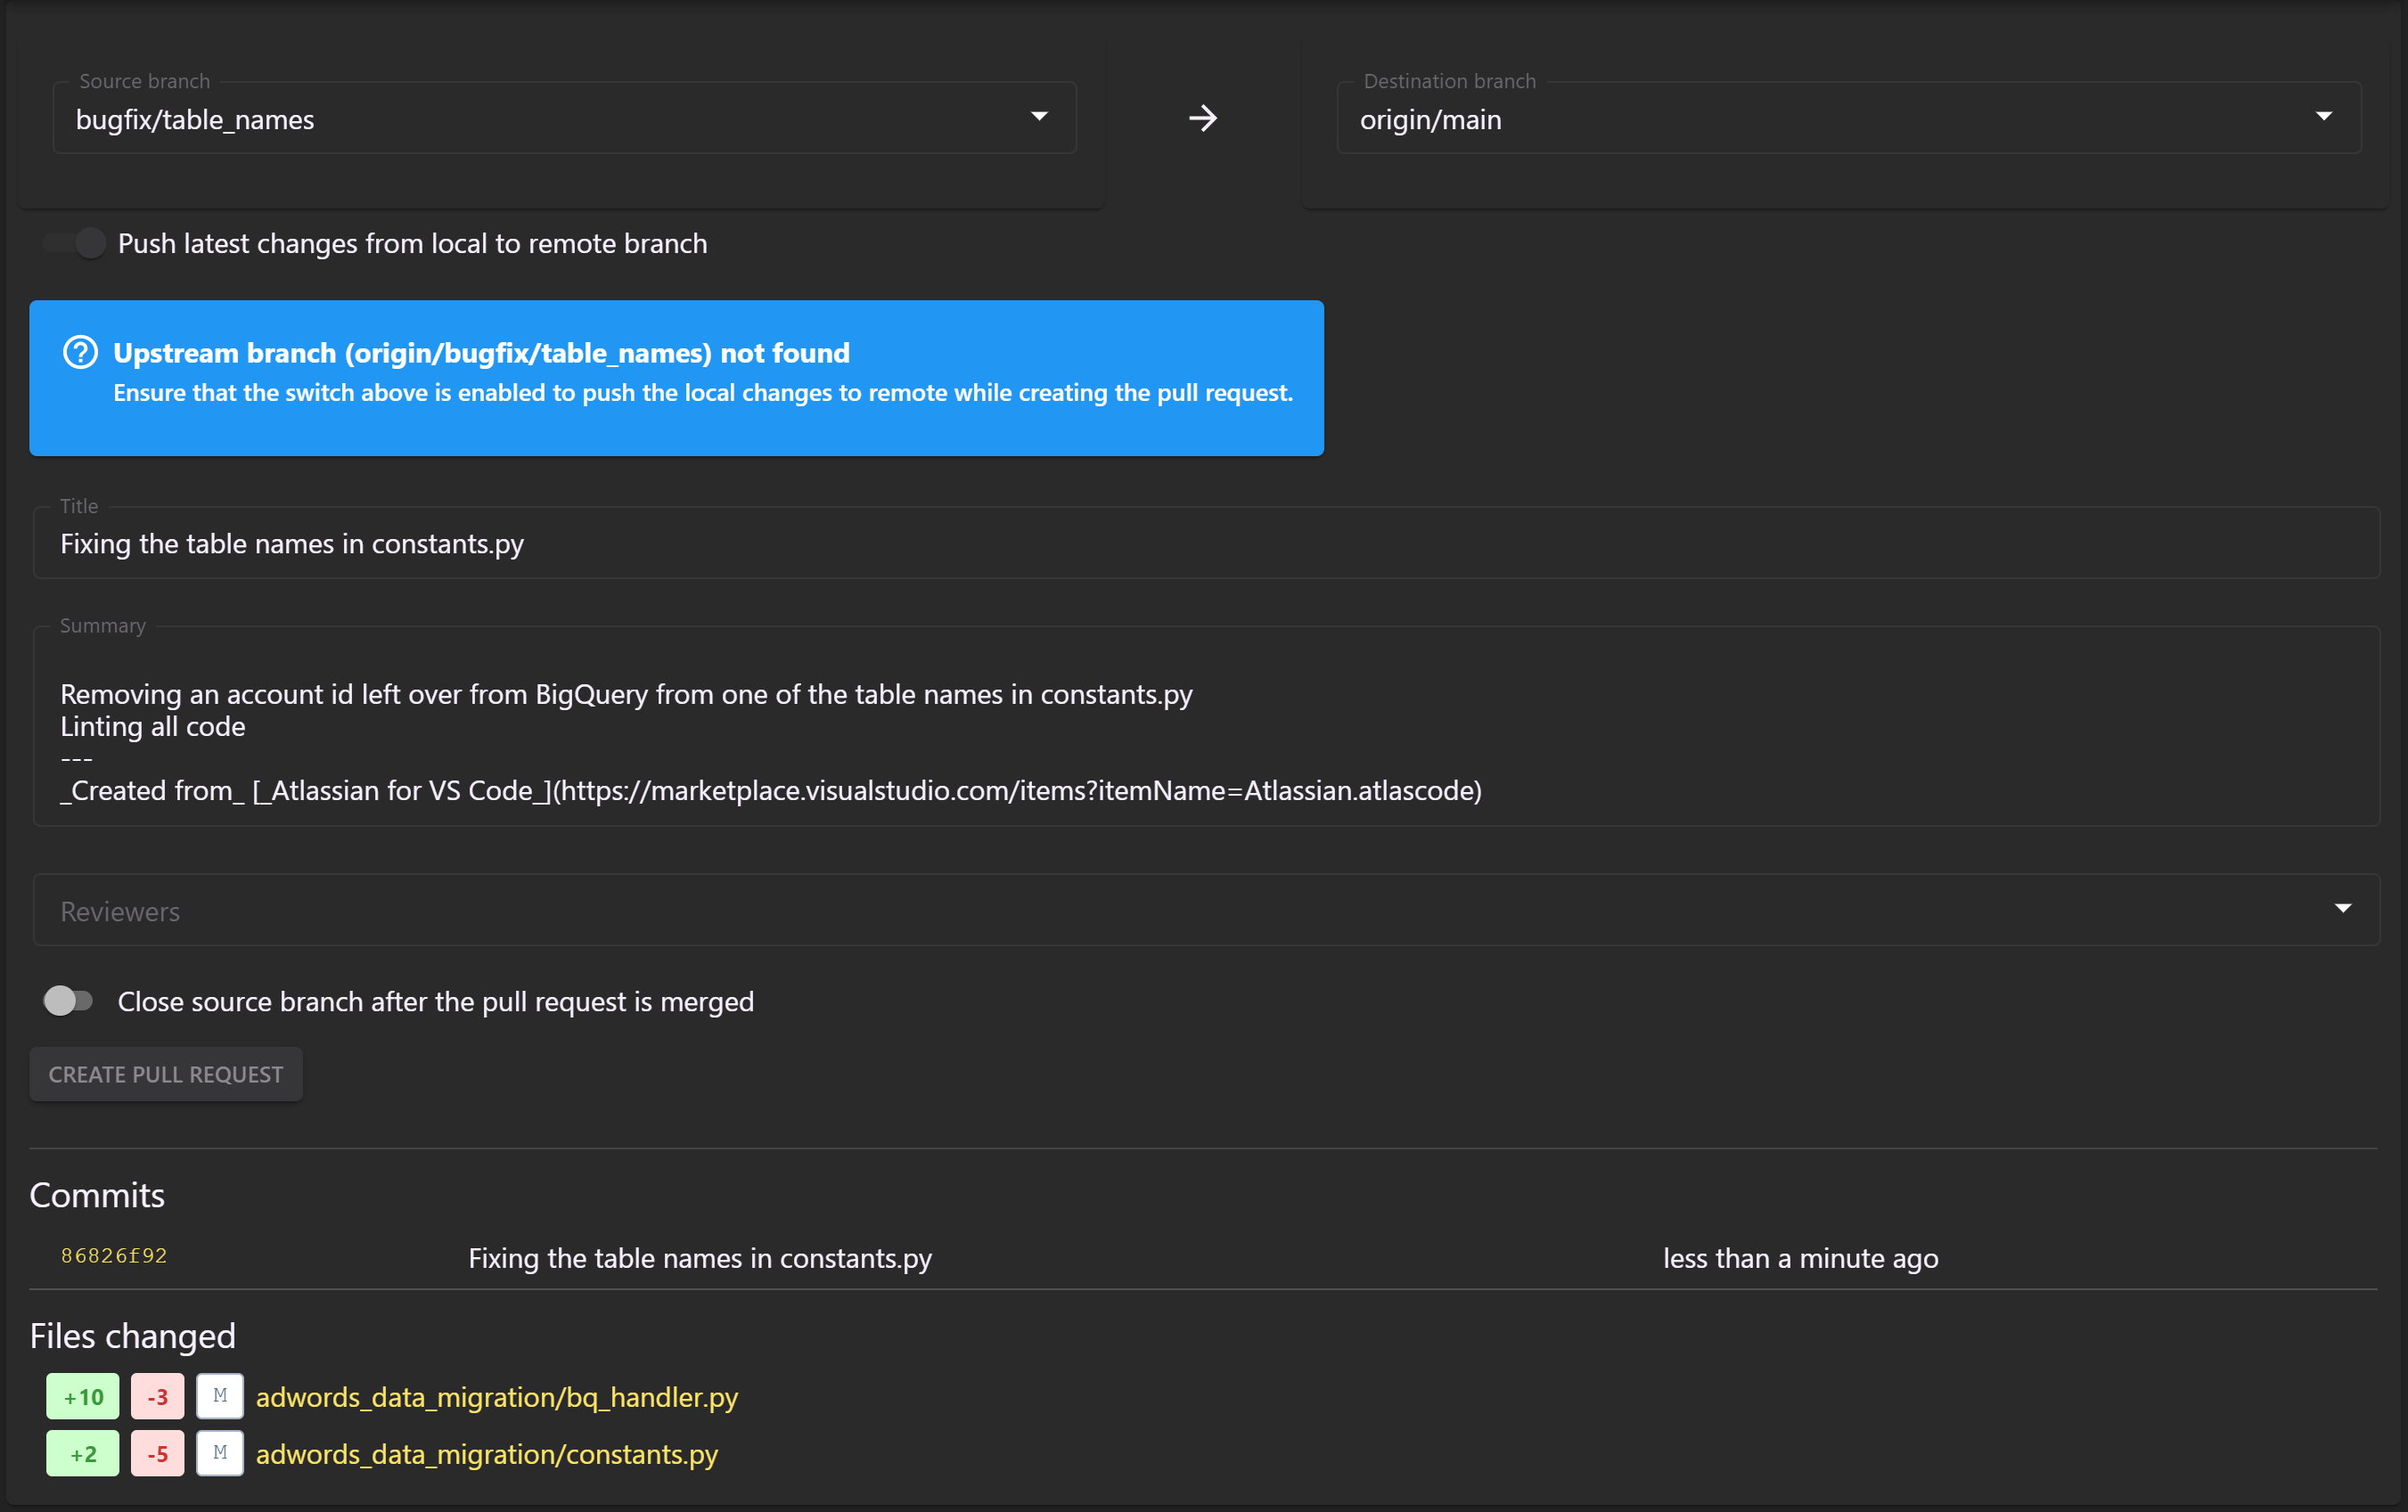
Here, you can:
-
Select your source and destination branches
-
Give the pull request a name and description
-
Assign people to review your work
-
See a list of commits and changes to files for the source branch
Once you have created the pull request, it will show up in the left navigation under the repository name, with the title of the pull request. From there, you can see the difference between a file in the source, and destination branch, as well see a more in-depth view of each individual commit and the changes that happened.
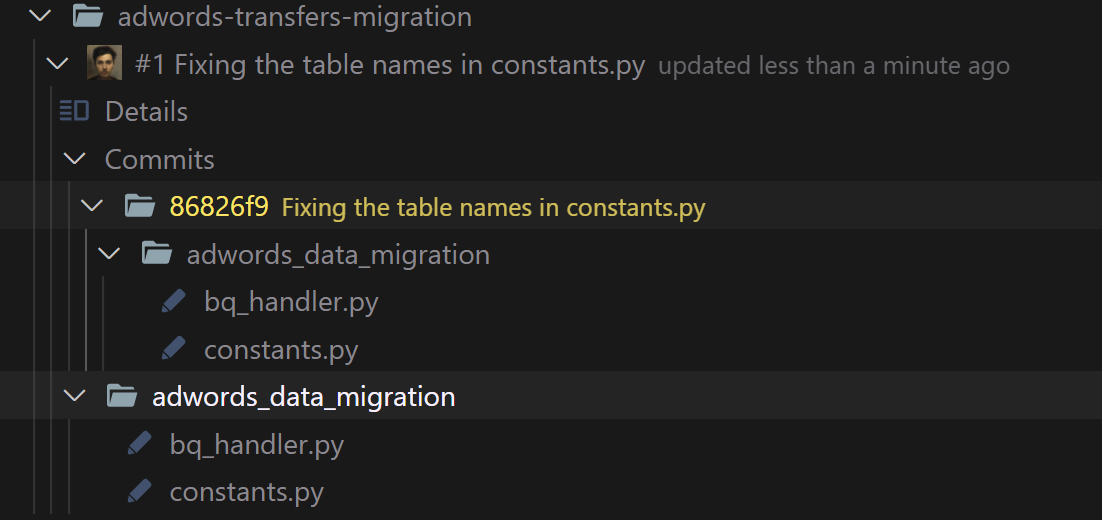
By clicking into the pull request itself, you can approve other people’s pull requests or set tasks to request changes to the code in the pull request. You can also merge approved pull requests from here.
Linting & Formatting Code
One of the processes for writing code at Louder, is ensuring it meets our coding standards. In our case, we have configured a couple of Python linting and formatting tools to help us conform to those standards. These tools are Black, and Flake8, which are orchestrated by Nox.
While Nox enables me to format and lint my code with a simple command, nox, I configured my VS Code to allow me to be even more lazy. By installing Microsoft’s Python extension, you can configure the formatting and linting.
Navigating to Settings > Python > Formatting: Provider, you can select the formatting tool you want to use. In my case, this was Black.
You can also go to Settings > Python > Linting: Flake8 Enabled, allowing you to turn on linting as you go work.
Now that we have our in-file linting and formatting, go to Settings > Editor: Format On Save, to make your formatting provider of choice run when you save your file.
In doing this, we have gone from raw, unformatted code, to beautifully formatted and easy to read code just by pressing save.
Appearance
While this may seem like a small thing to most, having your software display in colours that are visually appealing (but not too fatiguing) makes it easier to stare at a screen for longer.
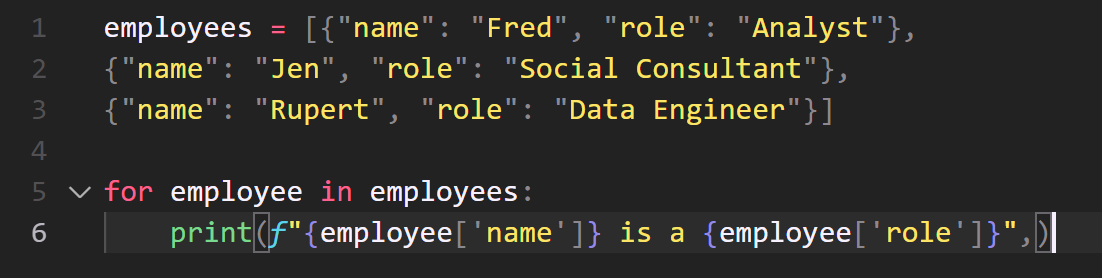
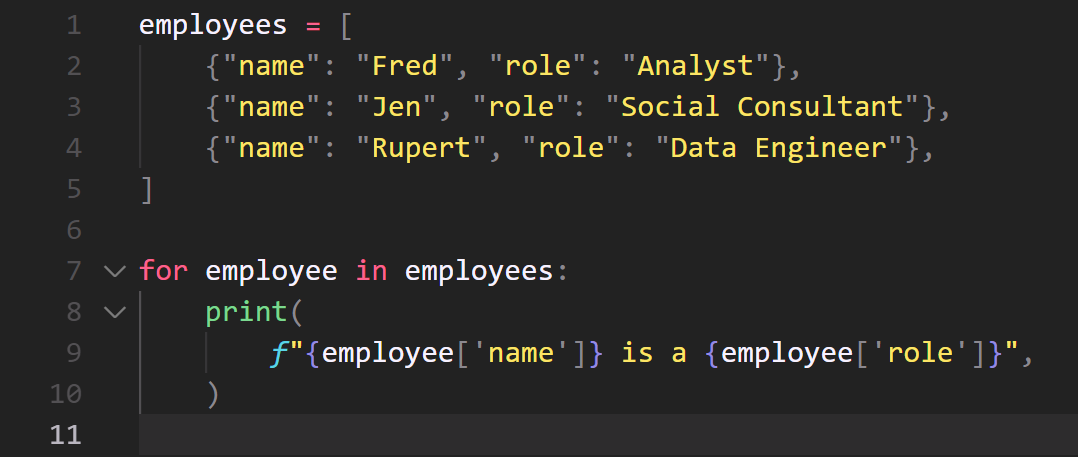
In my case, I use the Monokai Pro (Filter Spectrum) colours for VS Code. The main reason for this, is that I find the choice of colours and fonts easy to look at for long periods, and more so, that the choice of fonts helps me to navigate files in a more efficient manner.
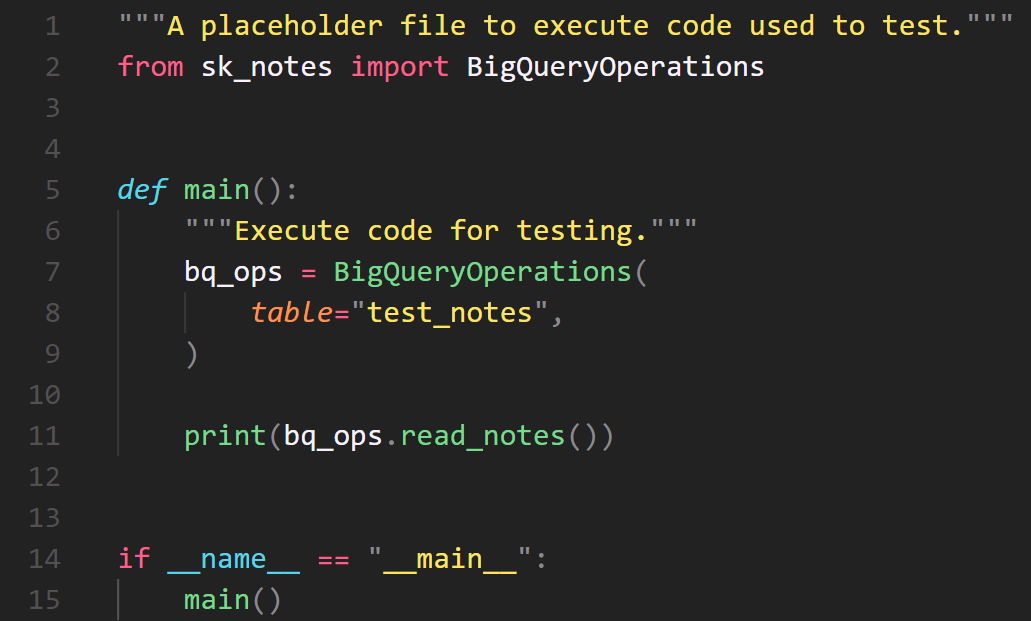
Above is a snippet of code from a personal project I have been working on. Here you can see that parameters, such as table, and function definitions, use italics. Just from the obvious visual difference, I can see where a function is being defined or called.
The other quality of life visual extension I’ve started using is the Material Icon Theme. This relatively simple extension changes the icons associated with different file extensions. It’s a small, but very useful change.
When navigating much larger projects, I am able to see what extension a file is using from a glance. This in turn, significantly reduces the time it takes to make modifications to older projects.
To Conclude
I could go on about the many extensions I’ve installed to help me with my work, such as the Markdown preview for when I work on this very website, but I wanted to outline the ones that have made the biggest impact on me.
The big question is, has any of this actually made me more productive? Yes. Spending time to configure my work environment has significantly reduced the amount of tools and platforms I need to directly interface with, which has greatly simplified my workflow.
And to think this all started because I noticed a button in Bitbucket.

Whether you’re a developer or not, there are many, many ways you can connect and configure the various tools you use in order to streamline your workflow. By spending a couple of hours configuring VS Code to better suit my needs, I am now able to do the majority of my work within a single application. With the right tools, some Googling, and a little determination, you can do the same.

About
Sam Kenney
Sam is a data engineer. In his spare time he plays guitar for the UK-based alternative band, Worst Case Scenario.